Learning How to Fly a Discus Launch Glider
RC Gliders and Sailplanes are a blast to fly as you seek out the next thermal or practice your sloping skills! Interestingly, the experiences for this author, has always been with either a Hi Start Launch or flying an electric motorized glider. The idea of learning to throw and fly a Discus Launch Glider was brought about when watching one of our Facebook Group users fly his. (if you are interested in seeing the post, search ‘discus’ within the group after becoming a member.) In full disclosure, the flying is not the concern here, it is the throwing and launching! Always up for a new adventure in the Flying Hobbies and it is time to jump in!
Selecting and Building
Selecting the first Discus Launch Glider
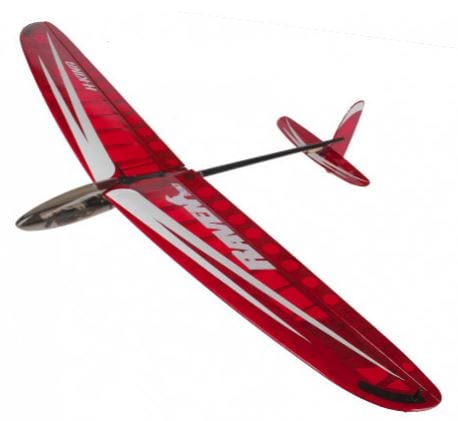
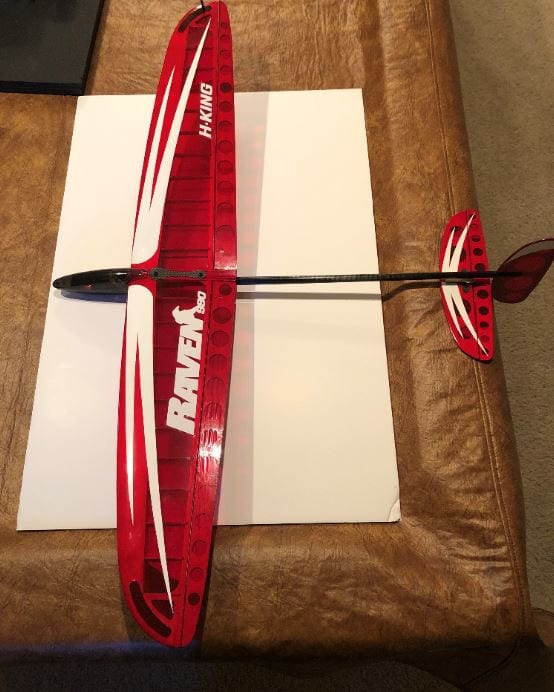
It doesn’t make any sense to spend a significant amount of money on this project before it is something of long term interest. Luckily, we have a forum of over 1000+ flyers we can seek advice on and that is exactly what was done. It was recommended to take a look at the Hobby King Raven 990 DLG as it’s entry point into this hobby segment is reasonable.
Advice was taken and this article will track the progress of building and then learning to fly this entry level Discus Launch Glider.
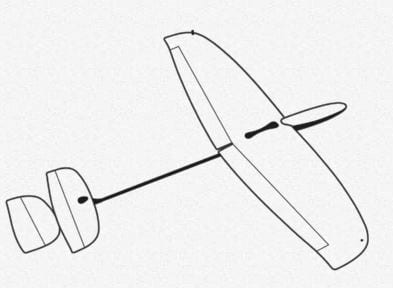
Building the Raven 990 DLG
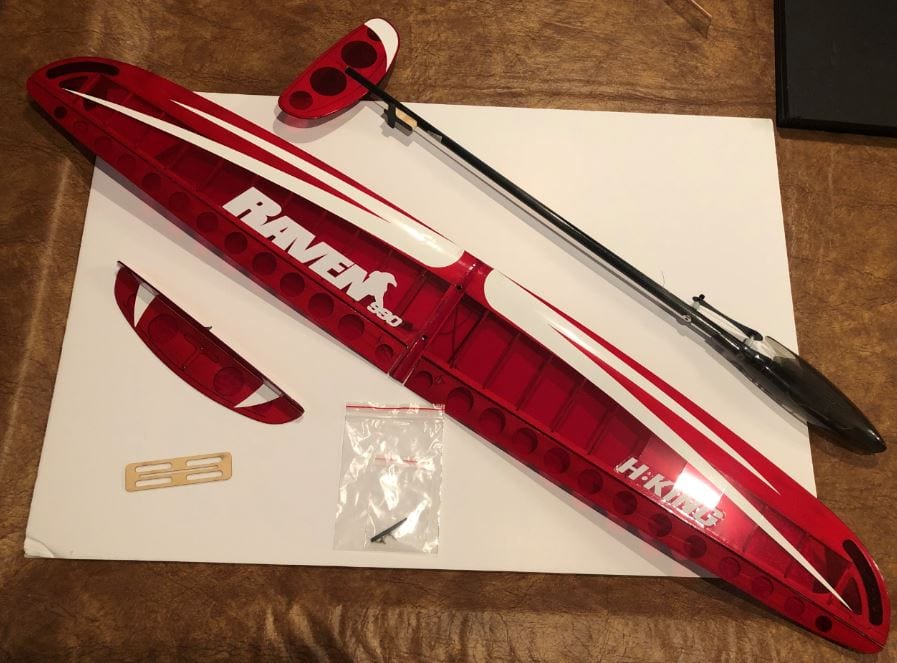
The kit has very few parts and should be a quick build.
Parts included in kit:
- Fuselage w/ elevator servo installed
- Wing with independent left / right servos installed
- Stabilizer w/ Elevator pre-hinged
- Misc hardware and Peg
- Jig to install Stabilizer
Items purchased separately include:
- 4 Channel DSMX Aircraft Receiver (will bind with existing DX6 Radio)
- 1S 900mAh (3.7V) Li-Po Battery
- Servo “Y” Cable (for Aileron Servos)
Steps to Assemble:
- Unpack
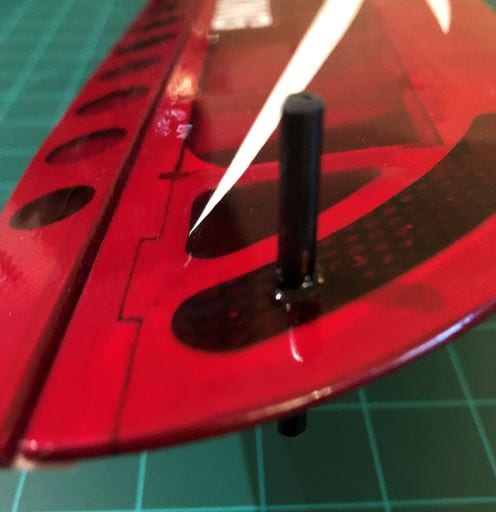
- Install Peg. (Note: this kit will be assembled for a left-handed throw)
- Install Y-Cable on Aileron Servos
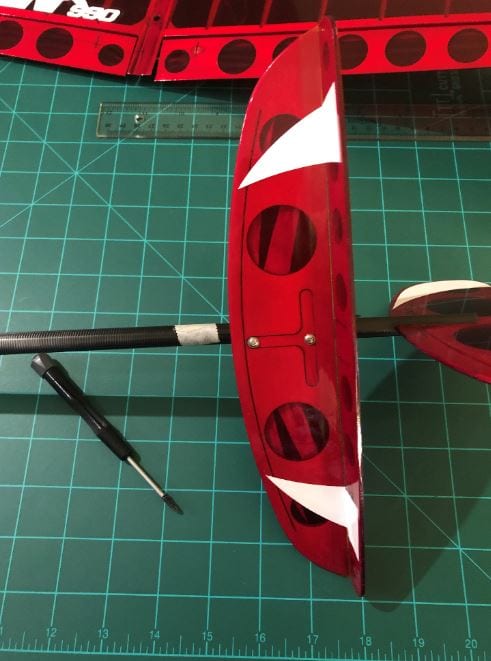
- Using Qty (2) supplied screws, attached Stabilizer/Elevator
- Place the elevator positioning jig onto the stabilizer/elevator so it keeps the elevator flat.
- Find Servo control wire (really mesh string) that passes through the fuselage and place it, via the preformed loop, on the elevator control horn.
- This next step requires your Transmitter and Receiver to have already gone through the bind process.
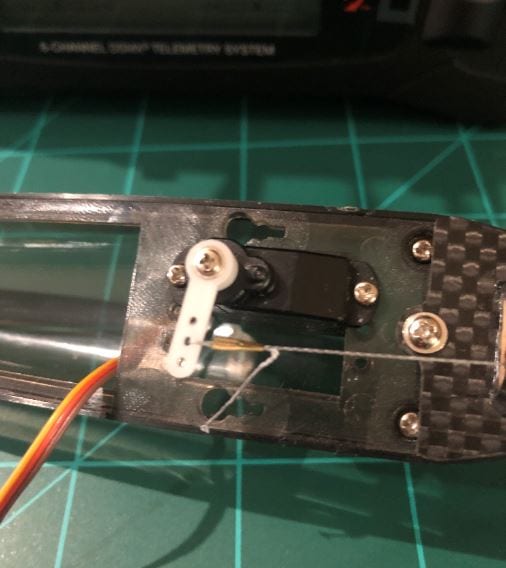
- power up the transmitter and receiver, with the elevator servo plugged in. Once it powers up and the servo sets itself at its zero location, you can remove power to the transmitter.
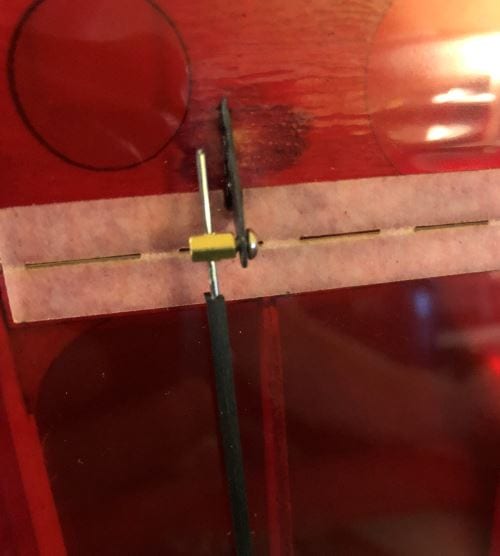
- Pass the mesh string that passes through the fuselage and connects to the elevator control horn you connected previous, through the small metal crimp barrel and then through the middle hole in the servo control arm.
- Return the mesh string through the barrel.
- With needle nose pliers, crimp the barrel to the mesh string into place and then drop a small amount of CA glue on the barrel area. (see pictures below)


Radio & Battery Fit:
Each individual build can vary because of the radio and battery equipment used. Steps followed to fit radio and battery:
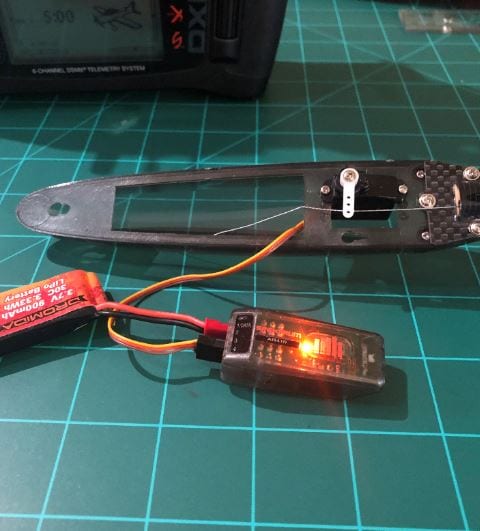
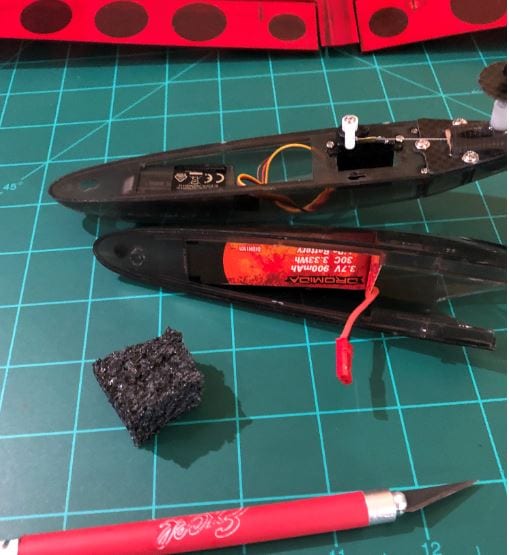
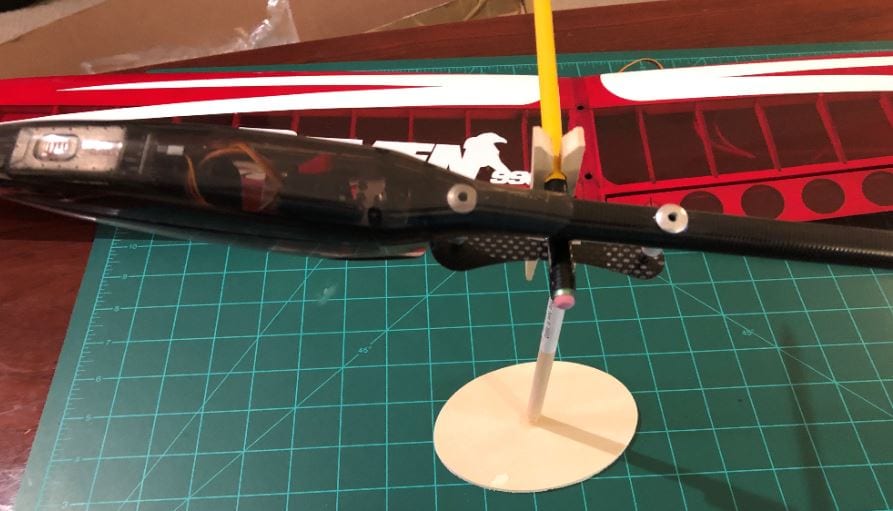
- Experiment with where to put both the battery and receiver. Each time, putting the cover back on and then checking to see where the CG is in relation to wing mounts on the fuselage. In between the two mounts is roughly the location of the CG, so check to see if everything balances at that location. For this build, the battery was placed in the top nose cover and pushed as far forward as possible, while the receiver was placed in bottom nose cover and pushed as far forward as possible. Balance point was achieved so it is not expected to have to add additional weight in trimming. (see picture below)
- Finish plugging Aileron cable to receiver
- Install wing by carefully clearing all wires and placing wing over install locations. Secure it with supplied one piece support and the two screws.
- Power everything up, in proper sequence of course, and button up the nose cone.
- Adjust the Ailerons, by loosening the set screw on the control horn on each, and with the radio at neutral, tighten the screw with the aileron flat. Do this for both.
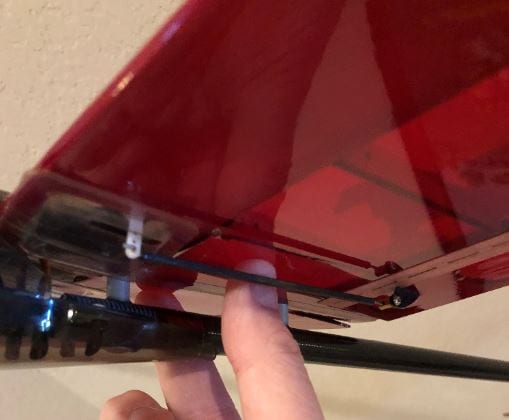
- With your fingers under the wing, confirm the CG is where it should be.
- Move the Aileron Stick and the Elevator Stick in all directions making sure the appropriate control surfaces are moving and moving in the correct direction.
- Time to see If It Can Fly!
Flying and Throwing
It is so important to test fly, in a very controlled environment, any new build or off the shelf model. For this Discus Launch Glider Raven 990, a low wind speed day was picked to do some hand-toss flights. Results:
- Center of Gravity appears to be dialed in. Model flies smoothly with no excess dip or stall.
- Aileron appear to be setup correctly as the model flew straight with no need to correct.
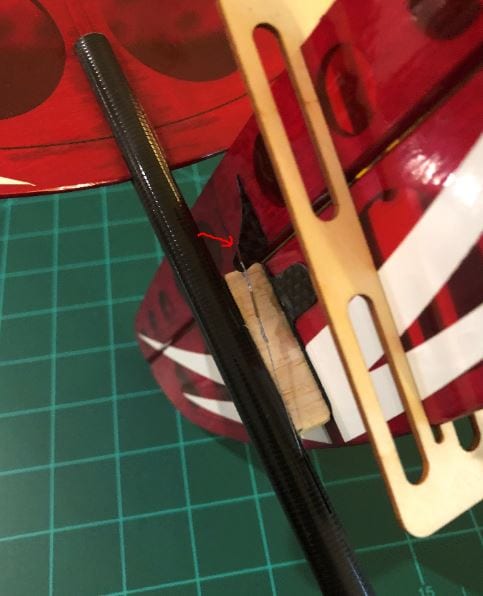
- Hardware loosing up on landing. This proposed a problem as each time, the nose cone halves kept separating, even on a gentle slow hand-toss flight where the landing was slow as well. First solution will be to use small rubber bands to see if the problem is resolved.
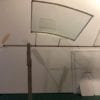
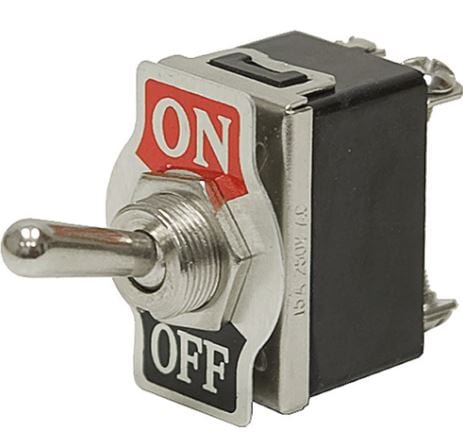
- After a rubber band fix attempt, the nose cone cover still moves around to much. Decision to add a more semi-permanent black tape has been made, but prior to, adding a switch to the battery must be done so the battery can be charged from outside the model without taking the cover off. A standard 3-way RC switch is to big for the enclosed space, so a small jumper assembly will be fabricated. The process will be documented here. (You can also click the Switch Image link below)
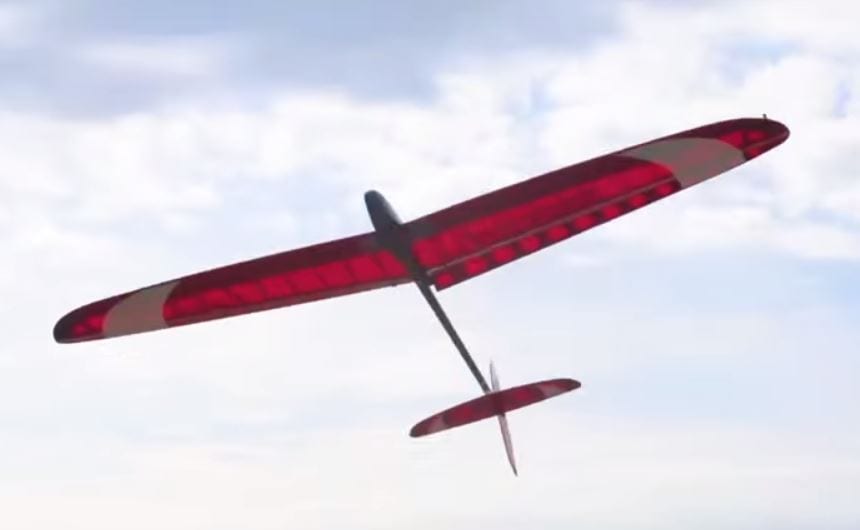
Initial Flights:
The DLG flies very well and there is no longer a concern of the front canopy coming off on landing, which is nice! Throwing, however is a different subject! The saying “practice makes perfect” is going to have to be exercised here and believed in. The challenge is, at least for this author, is to get the right angle of attack on release so that the rc glider will quickly climb. A few more weekends of practice and the long desired throwing skills should be there! The good news, it is fun practicing!
The Verdict:
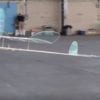
Initially picked this model of RC Airplane / Discus Launch Glider because of its inexpensive price point. Did not want to spend the higher dollars for a more competitive model until a decision on whether or not this was something of interest. SO, It Is! Throwing a DLG takes a bit of practice, but is completely worth it. Perfect for quick park flights where you want in the air quick, with very little hastle! This is the way to do it. Grab a DLG of go! Here is a short video of a quick park flight!
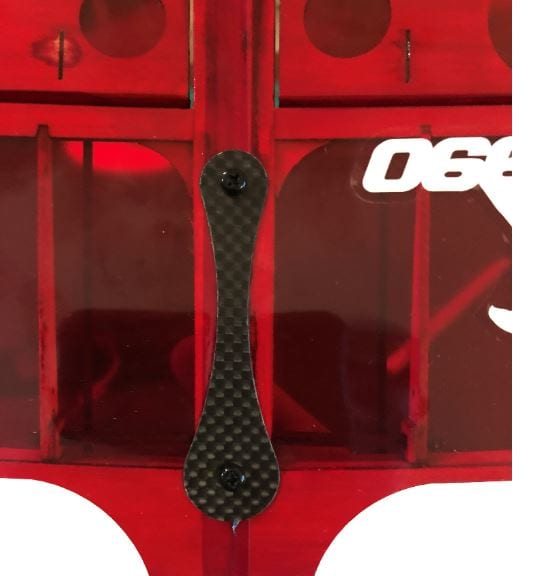
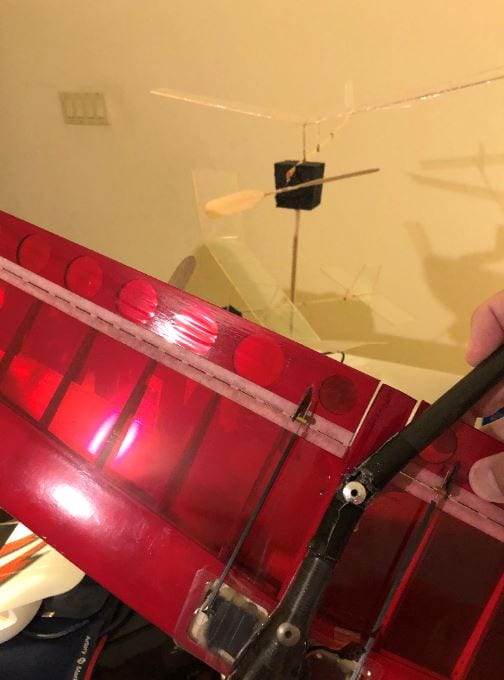
After approximately 100 or so throws (and flights), this model’s fuselage boom failed at a stress point. It was obvious it was going to fail at this point as the support for the wing bolt is just not there. Will attempt to fix. Here is a photo of the failure:
What is next?
As for off the shelf DLG’s, we are in search of a high-end model we can enjoy flying and is a solid / strong design. Will certainly share what we learn when the time comes!
Remember: #getoutandflysomething
Just an FYI, a Design a Discus Launch Glider Project has begun! Follow along!