Designing a Discus Launch Glider RC Aircraft
It had to happen at some point! A long winter is in the rear-view mirror and the latest designs and builds are off the bench and in the air! Yet, the need to scratch the ‘design’ itch remains, so why not return to the drawing board during the evenings! Now that the ‘learning how to throw a Discus Launch Glider’, one of the most interesting of RC Aircraft Hand Launch Gliders, is becoming second nature, it is time to see if one can be designed! As build files and templates become available, they will be uploaded here. Also, now that the Forum is ready, build and fly discussions from the community will hopefully be captured there!
One last Side Note: We are learning a lot with this custom design project. Readers have been asking if we would kit it someday, if successful. To do that, we need to understand how to create an rc glider kit, in the form of a short-kit. Which means we need to understand how to laser cut panels! Challenge accepted and the process will be documented here. Feel free to follow along and provide feedback!
The Goal
Because of the stresses of being thrown like a discus, the primary goal for this design of a DLG is to understand how to design and build a strong but light weight flyer. It will span 1500mm, withstand the stresses of being thrown and have light enough wing loading that it can be used to experiment with other types of slope soaring. Specifications will be updated here as they are developed.
Specifications:
- This table will be updated after initial design is complete and prior to build starting. Until then, the specifications, as they are developed, will be listed below.
- The Initial Key Specification to start with is a 1500mm wingspan.
Initial Design
The Initial design will focus on understanding the key ratio’s desired for the model to support the desired 1500mm wingspan. Currently researching and calculating the rough length of fuselage, height of vertical fin and width of stabilizer.
The Wing. Trying to understand which airfoil will be the best compromise for this design and fairly easy to plot out and then cut out as well. With a Discus Launch Glider, the goal is light weight but strong. This design will hopefully also be able to slope slowly, so the airfoil chosen needs to support a higher lift requirement at slower speeds. In researching, found a great RC Aircraft design tool which will help in the final selection. Pretty excited to find this tool and now, need to speed a few days learning how to use it!
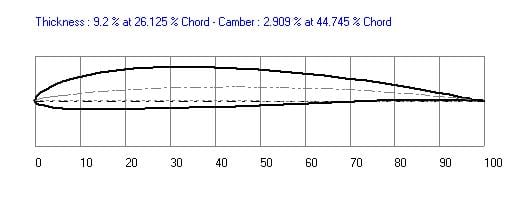
With significant reading complete, a decision to use the SD7037 Semi-Symmetrical Airfoil. It appears this is a common airfoil in rc aircraft of the glider variety and will offer great compromise in low speed performance and high speed performance. The reality is, the differences between airfoils around this family are small and the precision of printing a template and hand-cutting the parts will add enough variation to be able to expect to notice small performance differences. Here is a photo of the selected airfoil type:
Wrapping Up Key Assumptions
Key Specifications:
Research and misc calculations are near complete and some overall dimensional specifications have been settled. They are likely to change slightly during final design template drawing, but this gives a direction to work towards for this Discus Launch Glider.
- Wingspan = 1500mm
- Wing Chord @ Root = 240mm
- Wing Chord @ Tip = 135mm
- Stabilizer-Span = 385mm
- Stabilizer-Chord @ Root = 105mm
- Stabilizer-Chord @ Tip = 77mm
- Vertical Fin = 105mm
- Fusalage Tip to Tip = 1040mm
- Wing Center to Stabilizer Center = 635mm
- Wing Center to Front Canopy Tip = 308mm
Have successfully designed the core framework of the wing set and am comfortable enough to print out first templates of the ribs. Each rib, of the 16 per wing half, are different sizes because of the shape of the wing, so this will be a long process. Prior to cutting final templates out, need to select the trailing edge and leading edge stock from a local hobby shop. For this Discus Launch Glider RC Aircraft, the hope is to get them both pre-shaped!
Detailed Design
The Wing
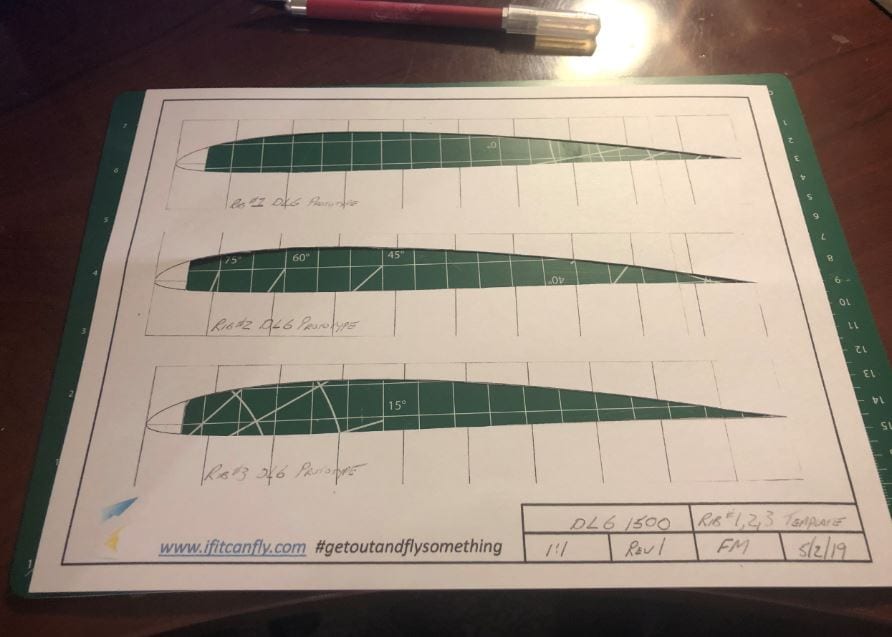
Design of the prototype wing is complete. Moving CAD artwork over to the IF It Can Fly Template is a bit time consuming, but it will be work the work. It will allow templates to be easily printed out, in card stock, and then cut out for reuse several times.
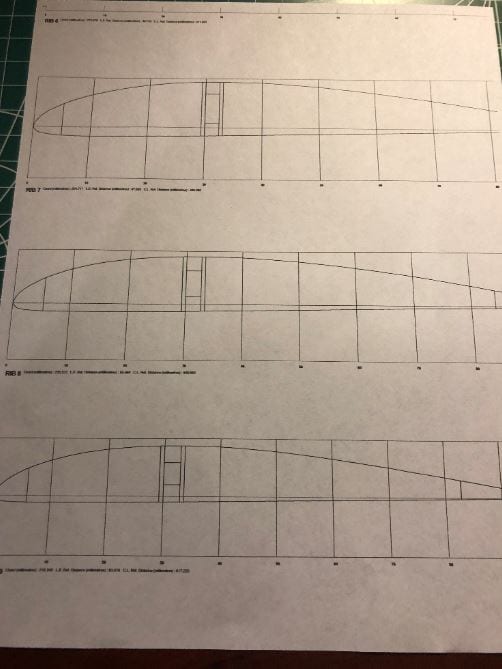
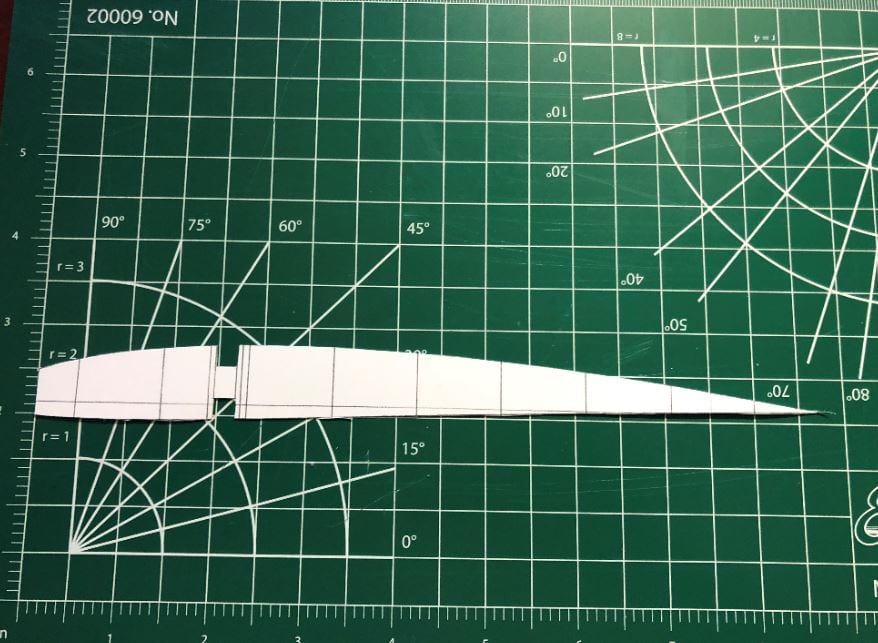
Even though all ribs are designed, the plan is print out the templates for the first 3 and make sure cutting out balsa parts from them work well before moving to finalize the rest of the rest templates. Here is a photo of Rib 1 thru 3 template and Rib 1 cut-out and ready.

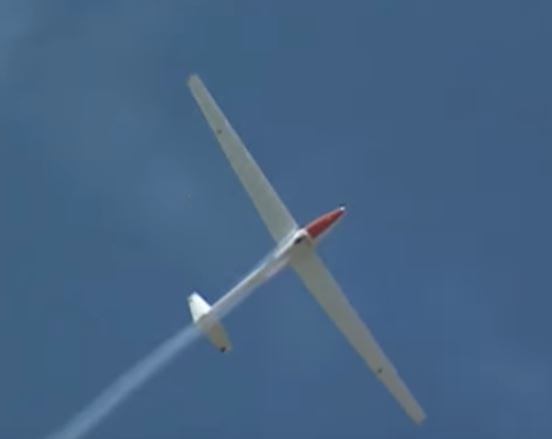
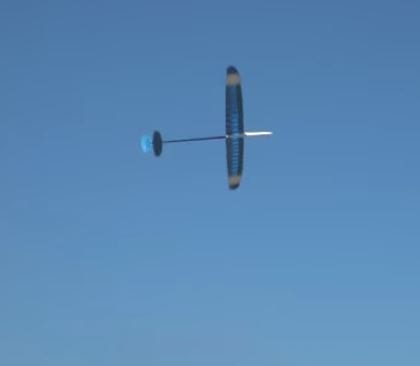
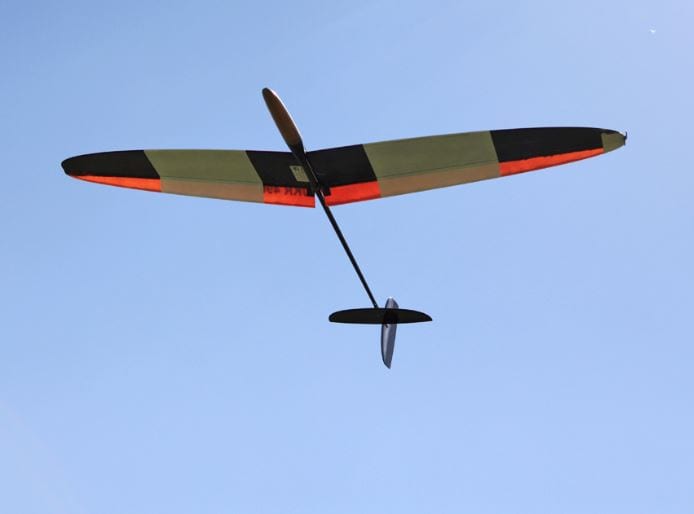
Here is a beautiful shot of a high end, DLG!
Cutting Ribs
With Rib 1, 2 and 3 templates cut out from card-stock, cutting them out of balsa is next. After some experimenting on thickness, have settled on 1/8″ for all.
Also, a few other decisions have been made while working with the rib templates, namely what ‘stock’ balsa would be used for both the leading-edge and the trailing edge. The decision, for this Discus Launch Glider design, is for the leading edge to be a 1/2″ by 1/2″ balsa stick, which will be sanded to shape after the wing is built. For the trailing-edge, a preformed 1″ wide, with a taper from 1/4″ to 1/8″ will be used. With this decision made, a support spar in the rear can be selected and the rib templates appropriately cut to shape. Time to get busy printing out the balance of the card-stock rib templates and then cutting out all the final ribs, from 1/8″ balsa sheet. Photos to come as soon as they are all cut out.
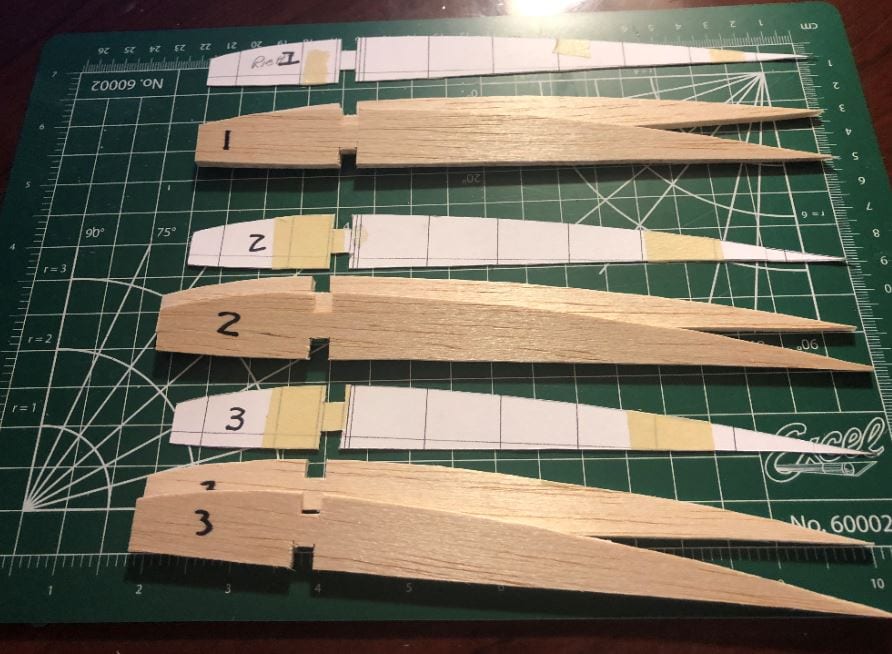
Here are ribs 1, 2 and 3 cut out in 1/8″ balsa. Time consuming, cutting everything by hand, but worth it!
The Wing Panel
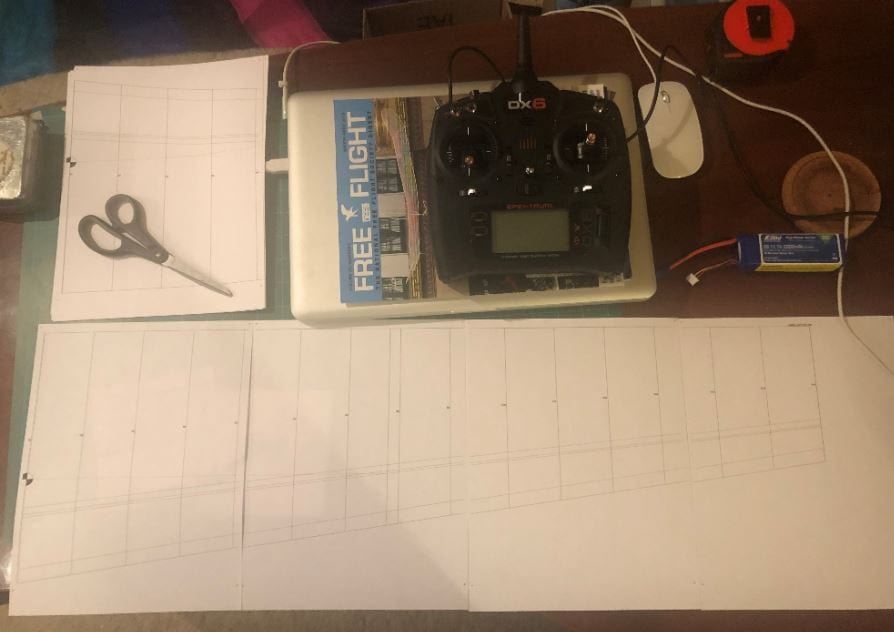
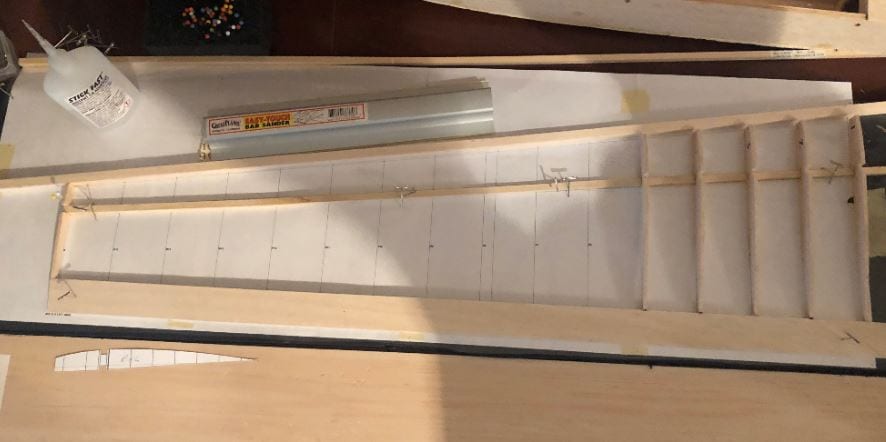
The first wing panel design is complete and the ‘basic’ pattern has been printed out. From this initial pass of the DLG / Hand Launch Glider pattern, final designs will be made on the build. Decisions include the best way to build up and what types of jigs might be needed. From this picture below, you can see the individuals sheets which were printed out. These will be precision cut at the appropriate marks, taped together and then placed on the building board.
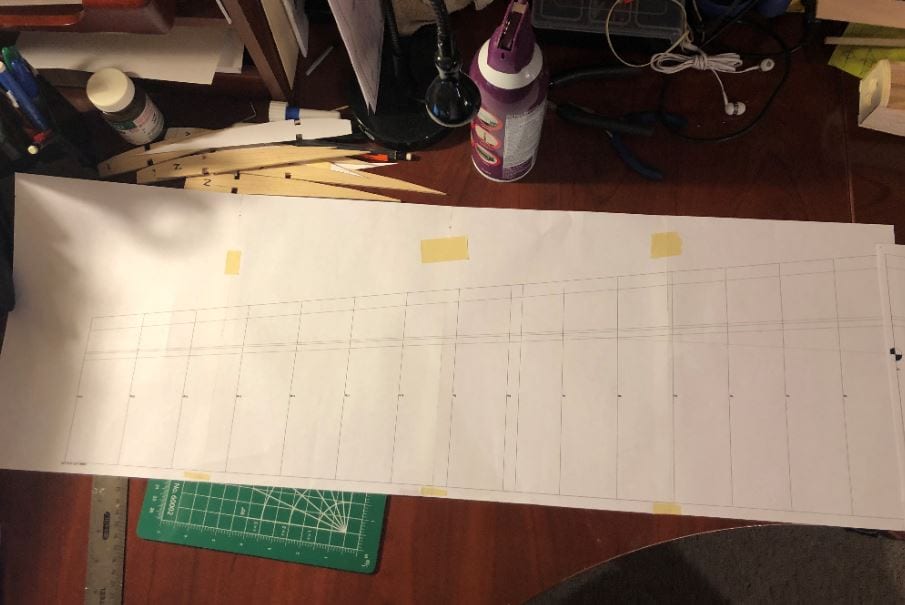
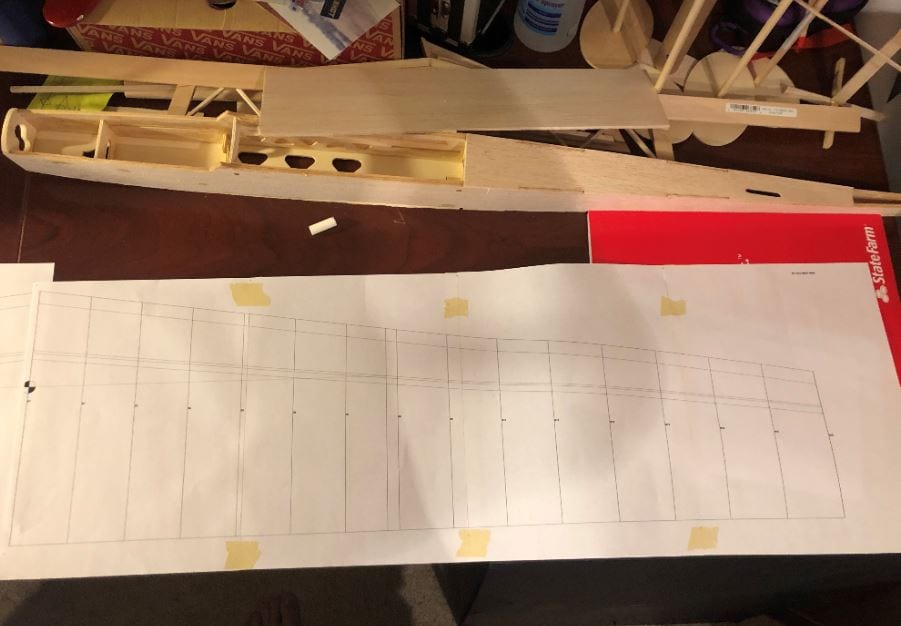
Below are a couple of pictures of the wing panel templates. Ready for the building board and to be covered with wax paper!
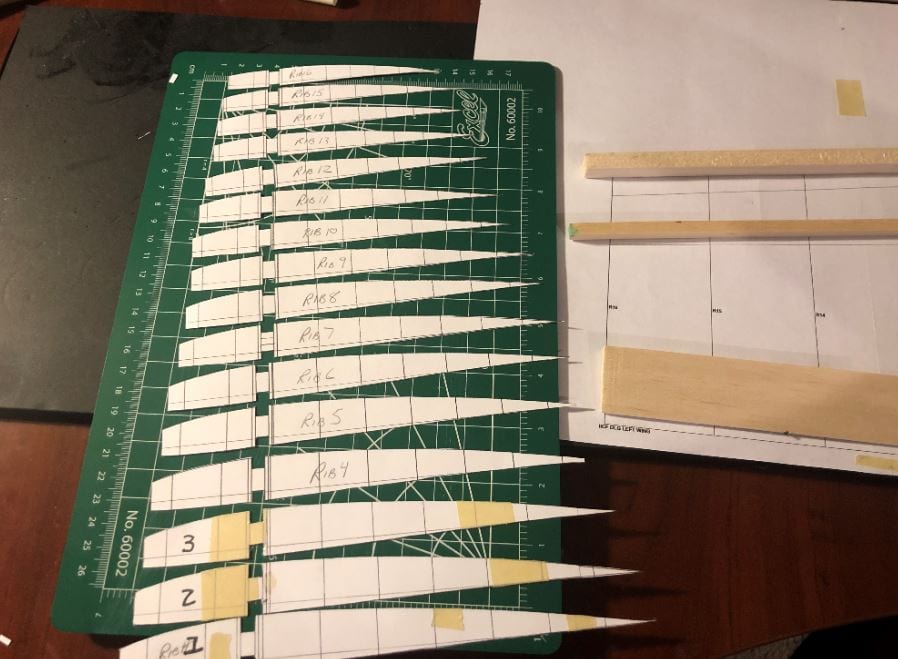
Here are the balance of Wing Rib Templates, hand cut-out, ready to go. Each one will be used to cut two ribs, one for the left wing panel and one for the right. It is time consuming, but designing this first Discus Launch Glider is not suppose to be work, it is just for the fun of it!
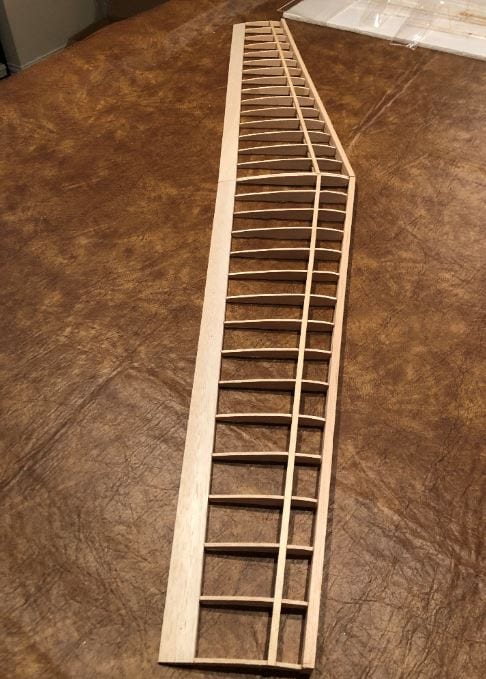
Left Wing Build: A custom tapered wing design which is hand-built will take some time build. Luckily, it is not a race! Besides, the satisfaction that comes along with a long build of any type of project is worth it! For this particular RC Airplane, the fun and challenge continues with the building of the left wing panel. Each rib is cut and then placed on the wing assembly board. Actually, when each rib is cut, two are cut, one for the right and one for the left. It is easier to cut two, with stacked 1/8″ balsa. Here is a photo of the left wing panel approximately 1/3rd complete. Coming along very nicely.
Finalizing the Wing Panels
The two wing panels are now ready for servo mount build up and then sheeting. It looks like a wing now!
One of many challenges to designing and building a custom rc airplane if all decisions are yours to make. This makes it so much more rewarding, but it is time consuming! Below is a picture of the wing panels of this discus launch glider design showing the final location for aileron servos and the harness routing. Next Up is to design the center wing joiner and then top side sheeting! Progress!

Here is the sheeted wing assembly halves of this RC Aircraft, waiting to be joined. Prior to that, Aileron’s will be cut out and tested which will take place after framing up is complete. This Hand Launch Glider is taking shape!
Stabilizer and Fin
Stabilizer template was drawn up and is posted in the Work In Progress Page for this design. Here are a few stabilizer images.
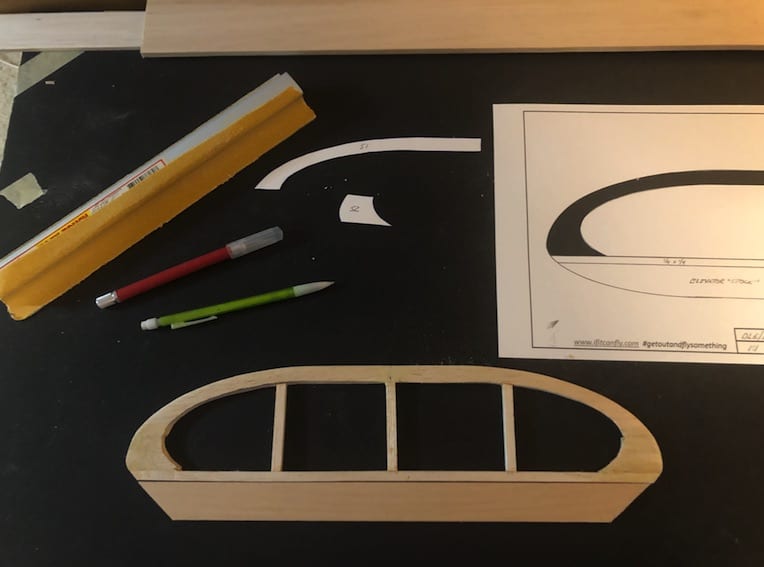
Stab ready to sand 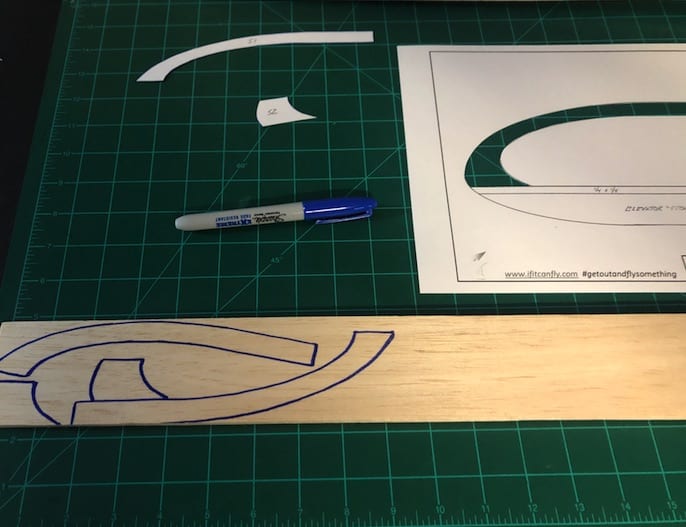
Stab ready to cut out 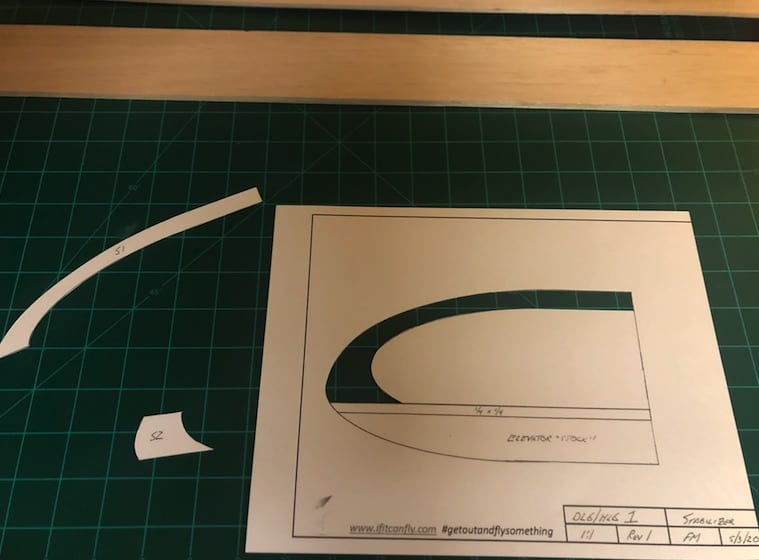
Stab Template
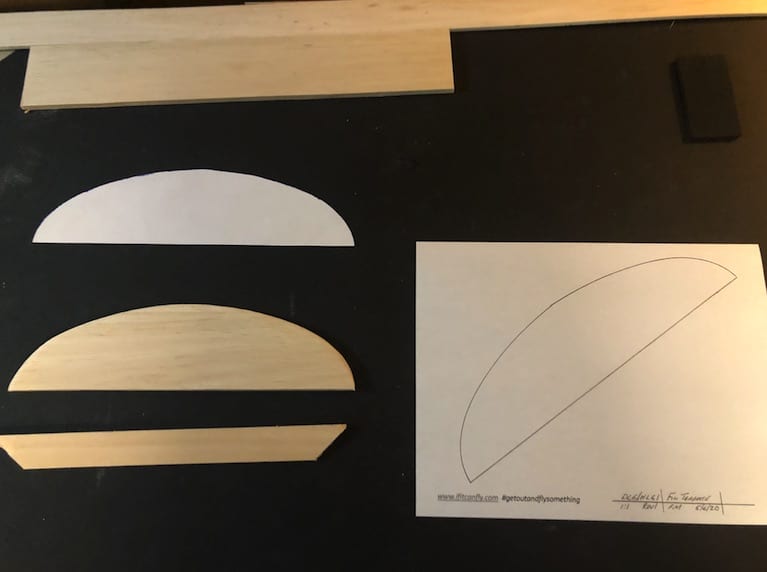
Much like the Stabilizer, the Fin design is easy and straight forward. Here is one image showing the simple template and cut out fin.
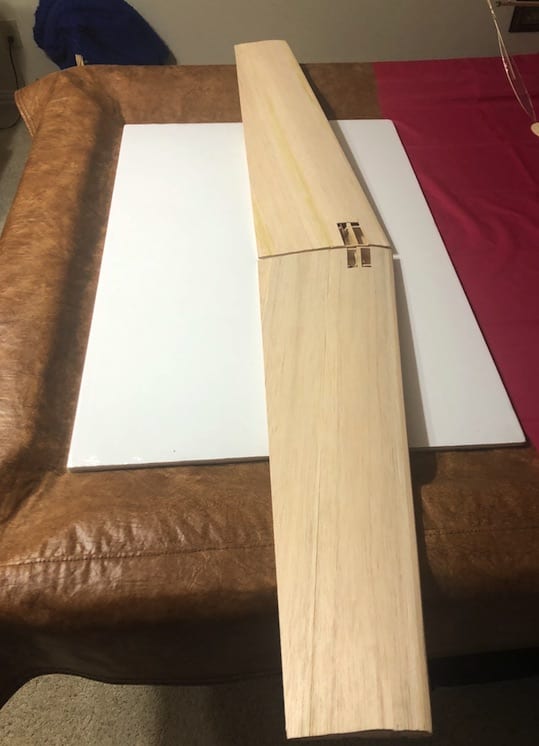
The Fuselage and Nose
With all the surfaces designed and cut, it is time to move onto the fuselage and nose of this future Discuss Launch Glider and RC Aircraft. With our Chubby Apogee Design complete