Allrighty, the next step is to determine how and what will signal and command this S500 drone by selecting and configuring the Drone Flight Controller. Our Drone Electronics can be extremely complicated to understand and configure. Its important we take our time here, understand the options based on Flying Preferences.
Note: this article will focus on the Pre-Installation phase only. When it comes time to spin a motor with this flight controller, we will then mount it and document appropriately in the next article.
Requirements:
At a high level, the goal of our drone is to be able to fly in autopilot mode as well as take control of it and fly it from a typical RC Radio System. A secondary goal was to be able to customize flight parameters along with learning and experimenting with telemetry options. With these requirements, we landed on the PixHawk Drone Flight Controller. This Article/Post will be specific to setting up the drone electronics around this specific controller only. There will also be specifics around our radio System, which is Spektrum. Note: we will reference many resources currently available that provide the necessary information needed for this build as well.
Pixhawk with ArduPilot:
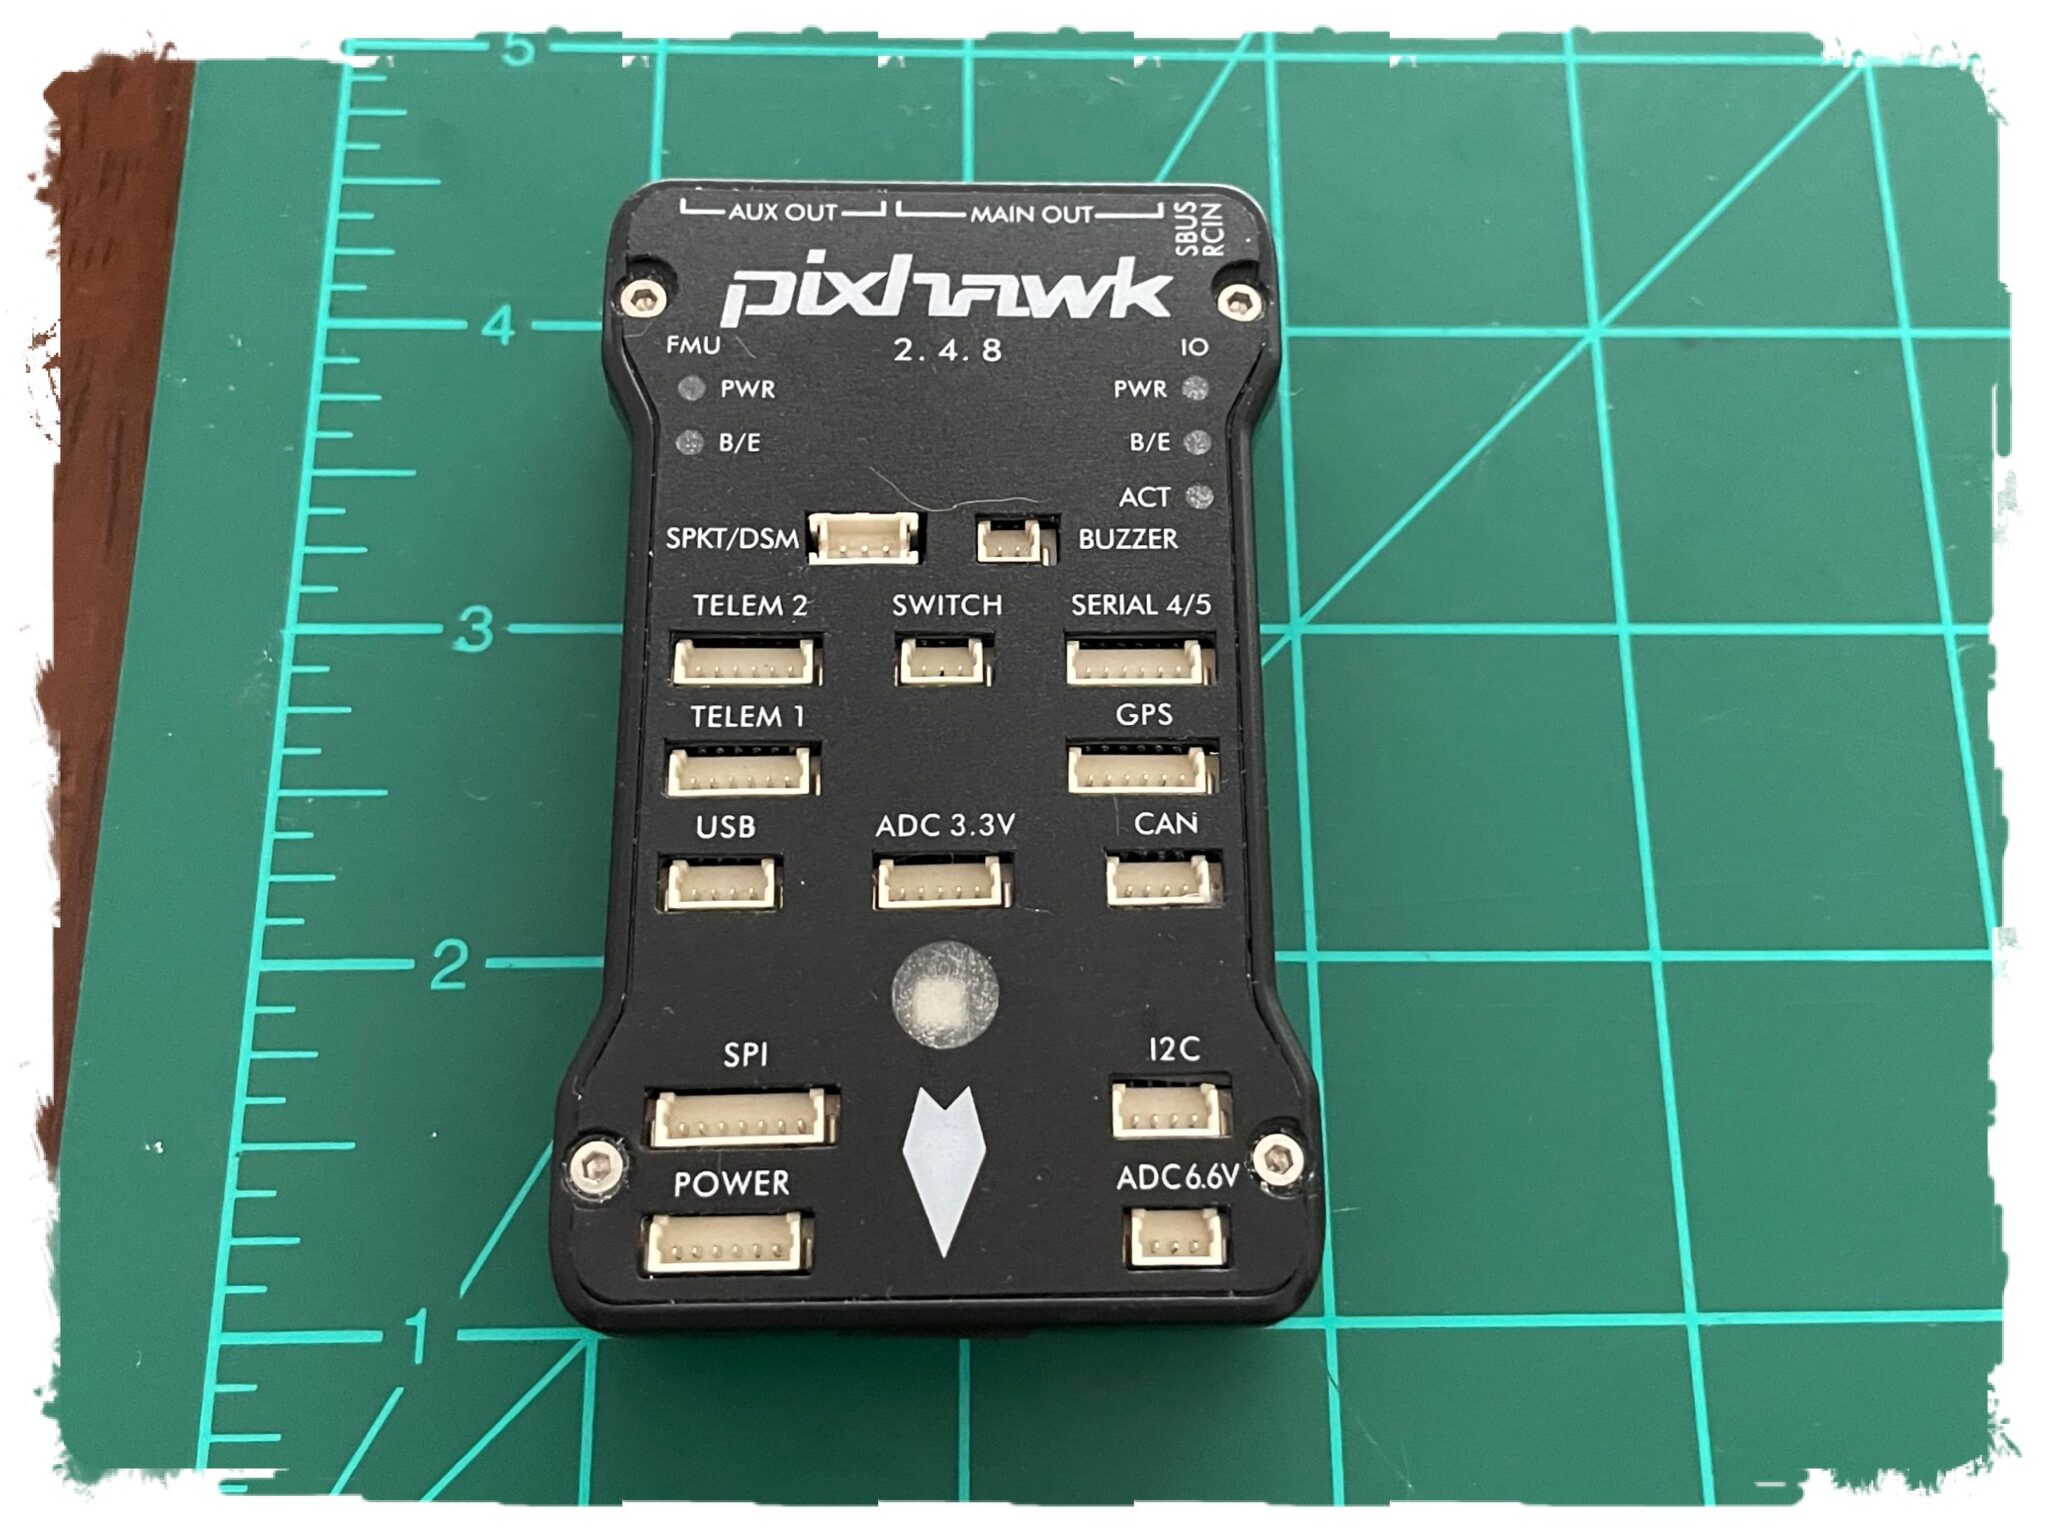
As mentioned earlier, we selected the Pixhawk hardware platform for our Drone Flight Controller. It meets our desire to have an Open Source firmware platform, allowing the tweaking of parameters as we learn, along with a proven hardware circuit. This piece of drone electronics is based around the STM32 micro-controller family and is a powerhouse of a micro.
For the software that runs on the Pixhawk, it will be the Copter package from ArduPilot. It is at this moment, we recommend you click on the ArduPilot link, bookmark the page, and then click on Copter. This is a wealth of information and in fact, it can be overwhelming. Spend several hours and read end to end, the Copter section. Most of our configuration will be drawn from this document and will be referenced. When more info is needed for clarity, it will be explained here.
Table Top Configuration
In the image below, you will see the final result of this stage of the setup and configuration of our Drone Flight Controller. The high level steps below will get it all ready to install on the S500 Drone to continue calibration and eventual flight!
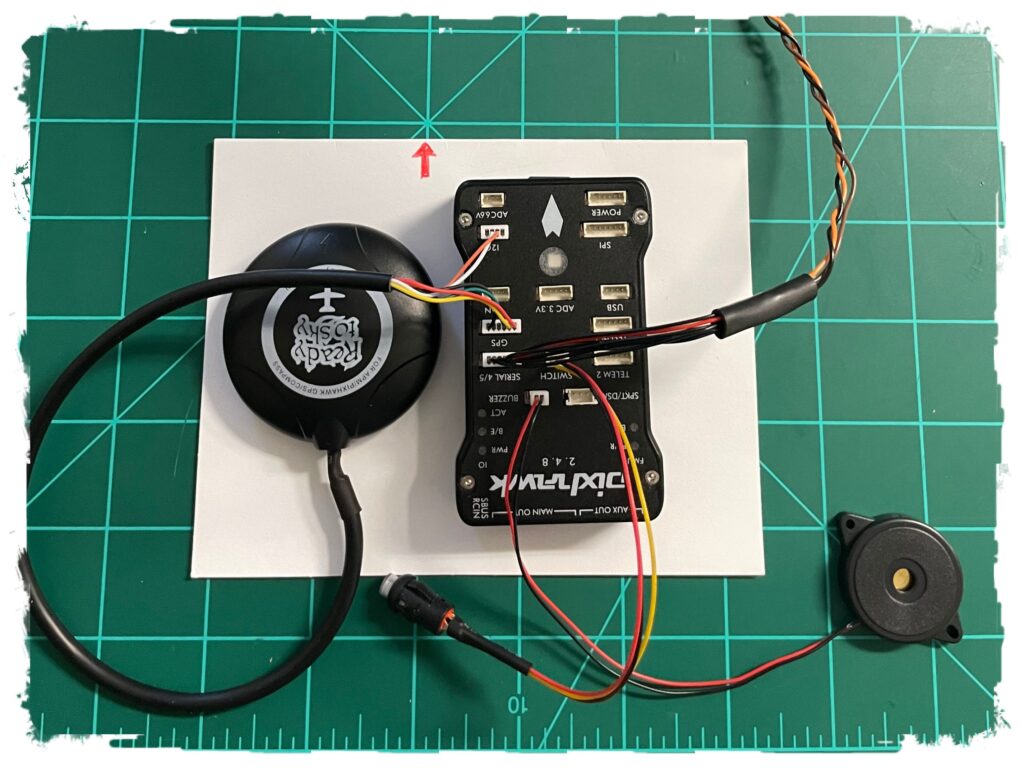
This setup is taped to card stock so we can move it as a unit during calibration. We got this idea from the YouTube Channel Painless360, which is a fantastic resource! Note our high tech RED Arrow drawing at the top, which is used as a reference for both the GPS and Drone Flight Controller. Point both devices arrows in the same direction.
Using the Copter Page, starting at First Time Setup, here are the steps we took to get to this point. If any special notes are required beyond what is documented, it will be listed with that step.
- Installed the Ground Station Software-Mission Planner.
- Since we are calibrating to a Table Top version first, we skipped the Autopilot Assembly section, and instead simply installed the GPS / Compass, Buzzer and Safety Switch for test purposes.
- Jump to the section where you install the Latest Firmware into the Pixhawk Drone Electronics, using Mission Planner. Update the firmware to the latest.
- Selected, Configured Connected the desired Receiver. Because we desire this Drone Flight Controller to be connected to a Spektrum Receiver, we selected the newest SRXL2 Protocol Receiver and bound it to our Transmitter. This required several custom steps as it is very new (at the time of this writing). SO, this page was created to document the specific effort.
- With our Transmitter Bound to the Receiver, the Pixhawk configured for SRXL2, and all is working, follow the steps within the Mandatory Hardware Configuration until you reach the ESC Calibration. You will do this with the Table Top Setup. Steps are:
- Select FRAME TYPE
- Calibrate Accelerometers
- Calibrate Compass
- Calibrate Radio
Ready to Install on Chassis
There is many more steps in the setup and calibration phase to get these Drone Electronics ready to work properly. Some of the above steps will be repeated as well. But knowing the fundamentals are working correctly on the Drone Flight Controller will give us more confidence as we move into installing it all on the S500 chassis.
Social Media:
We share our images, video and experiences in all of the flying hobbies here. This Drone ESC Battery and Power Electronics setup post, part of the overall S500 Build and Fly documentation, will certainly be featured!