
While Flying our Backyard RC Models, both aircraft and helicopters, we have become big fans of the Spektrum line of RC Transmitters and Receivers. As we ventured into our first scratch build drone with Autonomous flight capability and Open Source Flight Controller, we wanted to use the same Transmitters. The first Flight Controller chosen is the Pixhawk, and we will use the new 1 wire telemetry protocol, Spektrum SRXL2 Receiver. To interface the receiver with the flight controller, both a custom cable and modifying default parameters in the STM32 config file will be required.
SO, as we go and learn with this new protocol, we’ll share our findings here, along with linking to any posts and pages that use the setup.
Spektrum SRXL2 Interface to Pixhawk Controller
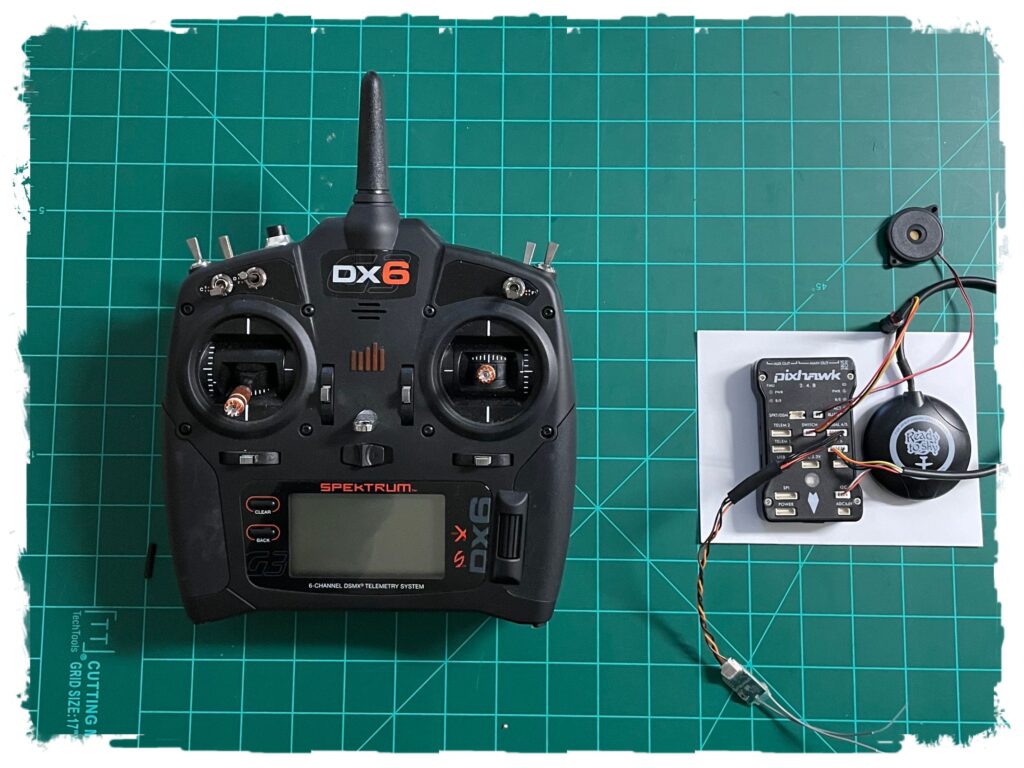
This is the first interface of many we expect to make using this new One Wire Technology from Spektrum. We are using it in our S500 Drone Configuration and Fly Build. The selected receiver is the SPM4650C, which we bought off of Amazon but is available everywhere! The Pixhawk controller was also bought there and it came with several accessory cables for the different connection ports.
Because the SRXL2 requires a standard MCU SERIAL Port, rather than a PWM port or other config, there is a need to do two major custom changes for us to use this Receiver with this Flight Controller. They are:
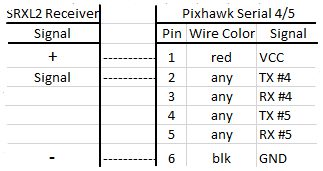
Customize the Interface Connector: the issue here is simple. The Spektrum SRXL2 Receiver has a 4 Pin connector, with only 3 wires on it. The wires are VCC (+), GND (-) and the Signal Wire (S). They need to connect to the Pixhawk Serial 4/5 connector, which is a 6 Pin connector. Here is a simple connection hookup chart:
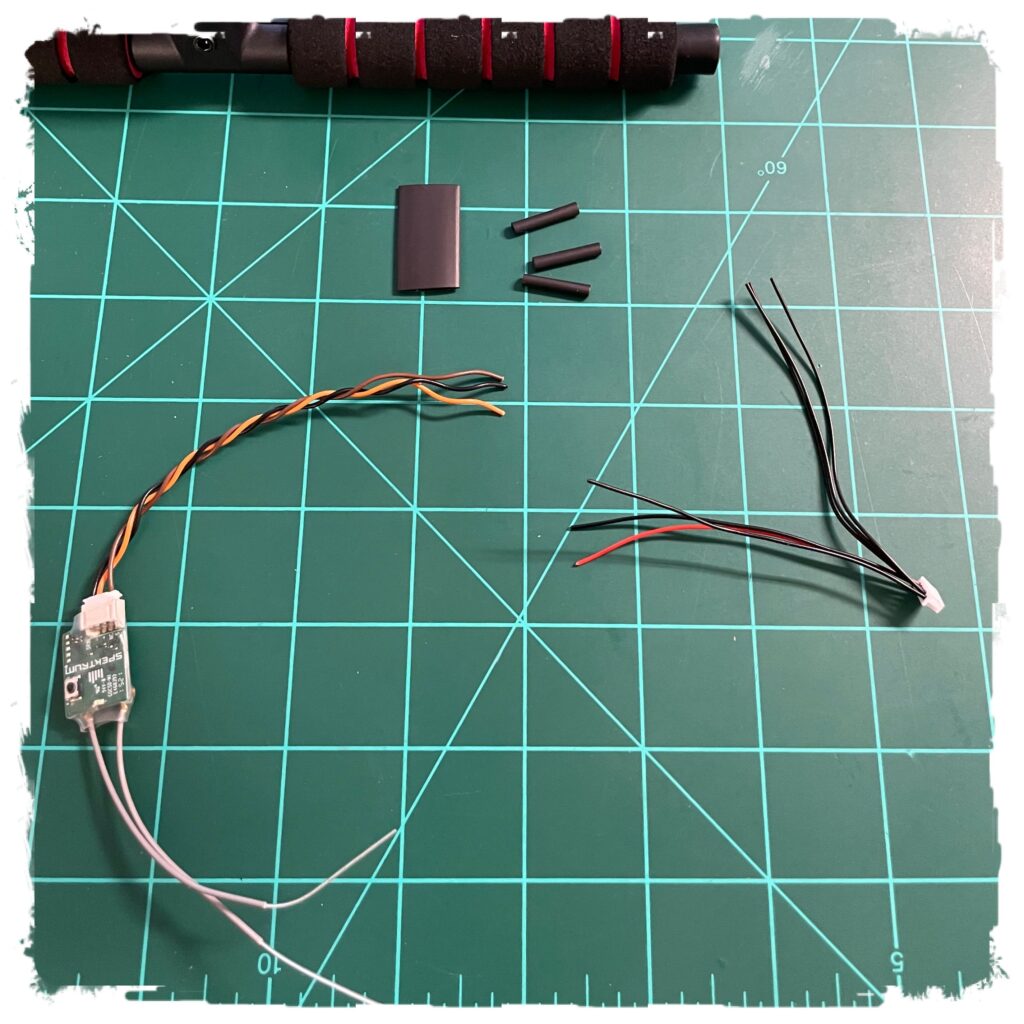
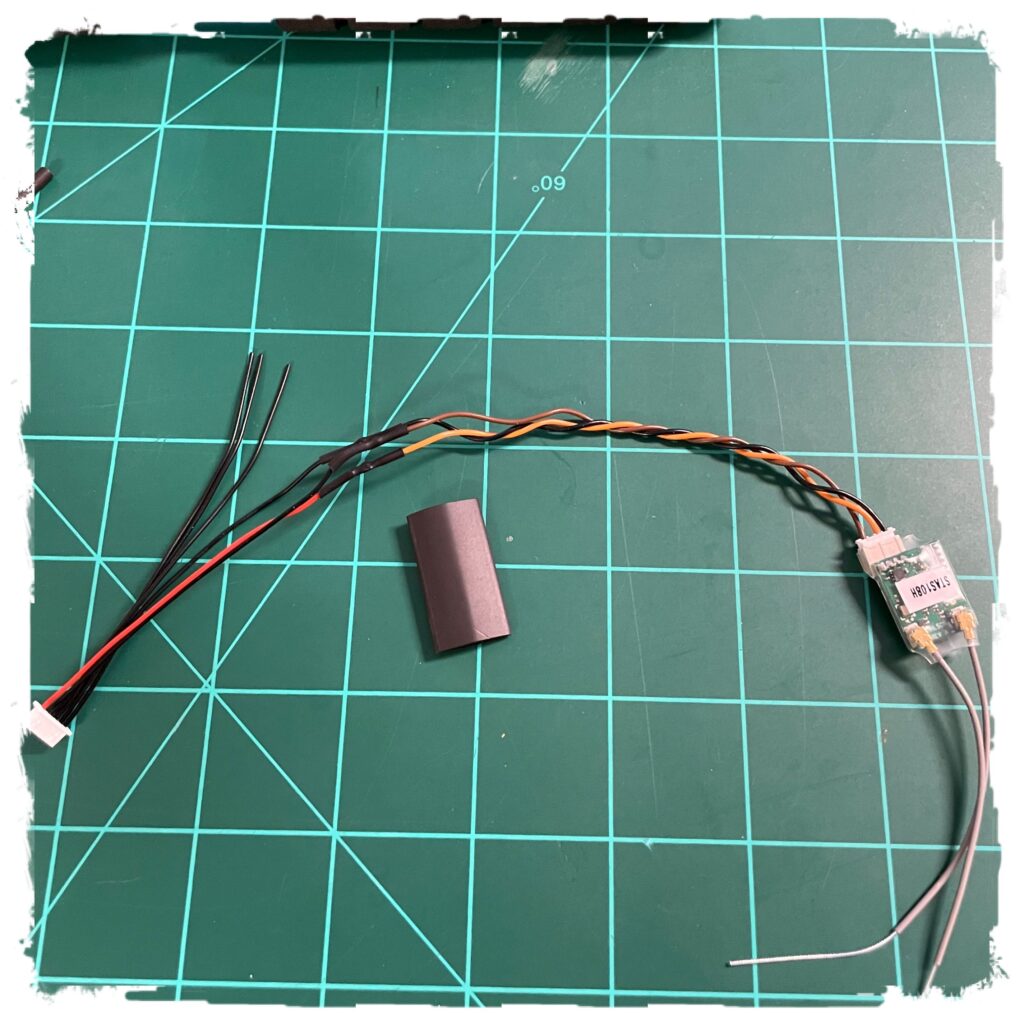
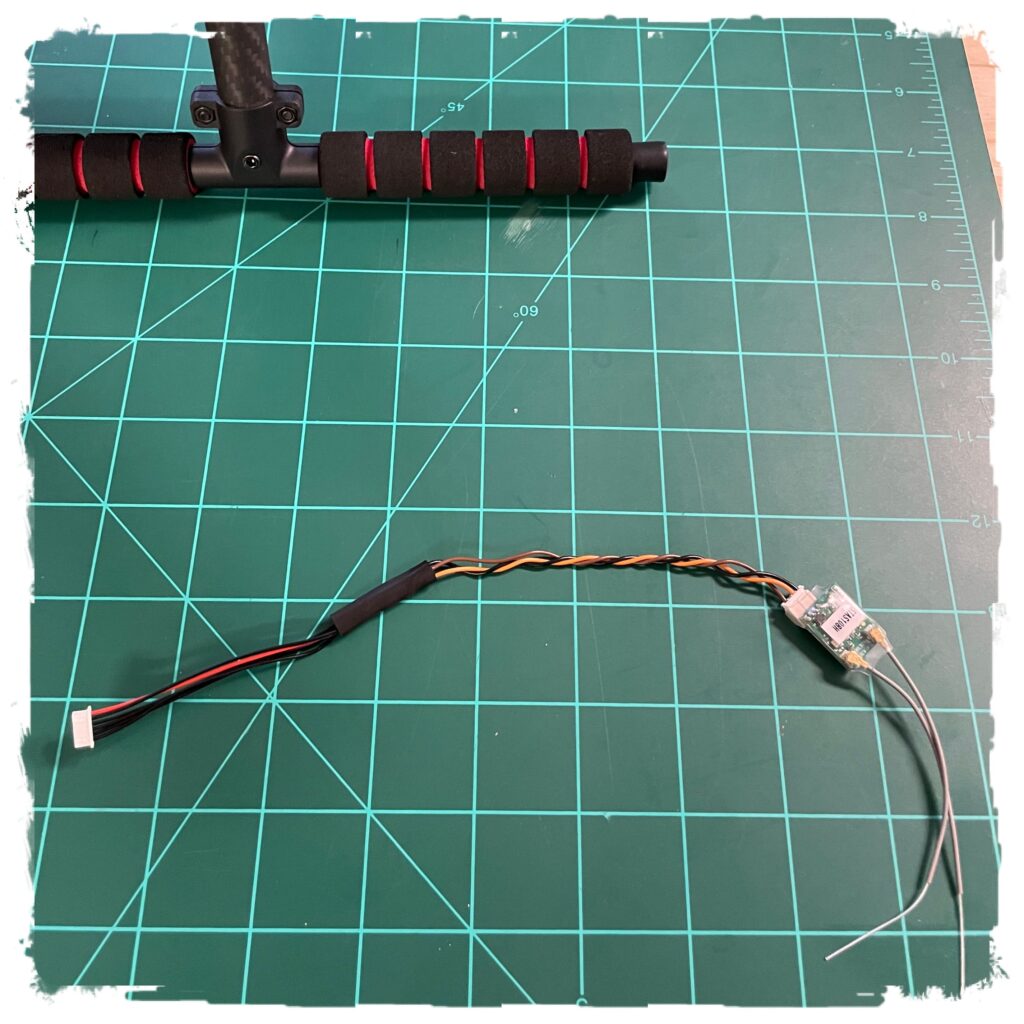
To create this custom connector, simply cut the ends of both the Receiver cable and the 6 Pin Jumper cable that came with the Pixhawk. Solder the appropriate wires together, making sure you accommodate for heat shrink tubing of course, and you are done. Here are three images showing the custom cable creation, which will then allow the Spektrum SRXL2 Receiver to connect.
Set the Serial Port Configuration on the STM32 based Pixhawk
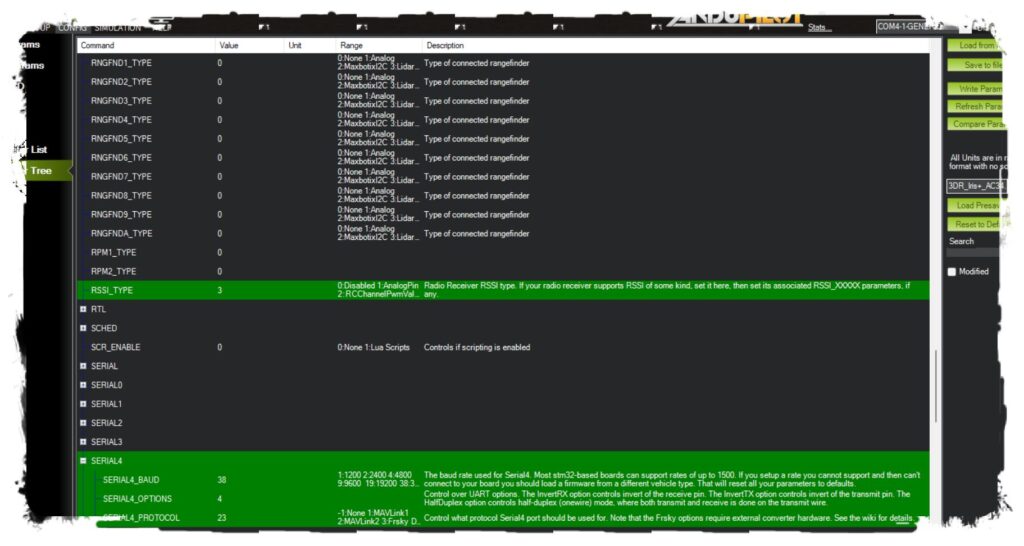
For our S500 Drone build, we are using Mission Planner to setup the Flight Controller. It is beyond the scope of this Spektrum SRXL2 Receiver page to explain the Mission Planner setup and use, but the ArduPilot documentation will walk you through everything. For this config, the following parameters need to be modified/set:
- RSSI = 3
- SERIAL4_PROTOCOL = 23
- SERIAL4_OPTIONS = 4
Here is a screenshot of the Config Page within Mission Planner.
Remember: #GETOUTANDFLYSOMETHING!
That’s it. Plug it in, and keep configuring, testing and setting up your system.
Keep watch, more info will be shared as we integrate this receiver into other flying models!
Social Media:
We share our images, video and experiences in all of the flying hobbies here.